


High-quality and appealing photos serve as the first point of contact between your products and potential clients. Captivating visuals help create an everlasting impression that significantly influences buying decisions. In electronic commerce, shooting product photography is the only way to familiarize future buyers with merchandise since physical interaction is unavailable.
Whether you are launching a new online store or looking to enhance your existing product listings, understanding the main principles of product photo setup can impact the way your products are perceived.
This guide will teach you how to set up a perfect product photoshoot. Use these tips to expand your audience and increase your brand’s credibility. Embrace the power of visuals to stand out in the competitive digital marketplace.
Essential Equipment
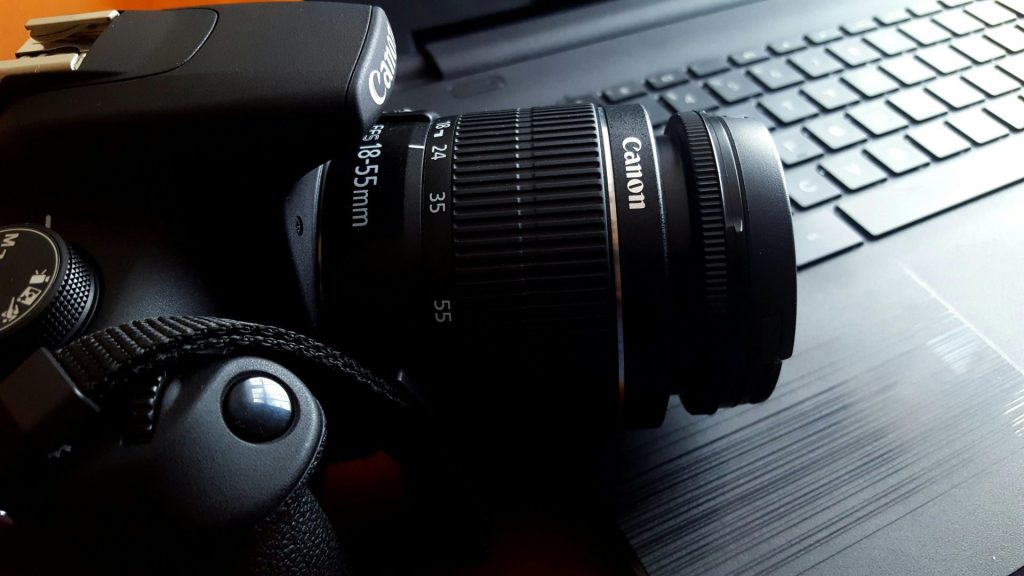
Camera
DSLRs and mirrorless cameras are highly recommended for commercial photography. Professional photographers prioritize their versatility and high resolution. However, a smartphone camera can be sufficient for clear and detailed photos if you are an aspiring entrepreneur with a limited budget.
Lenses
The lens choice depends on the type of goods you sell. For instance, a standard 50 mm lens works for capturing big items. It provides a natural look without distorting the dimensions. Meanwhile, a small product photography setup is unimaginable without a macro lens. With their help, you can capture the tiniest details sharply and clearly.
Tripod
A sturdy tripod is obligatory to ensure camera stability, especially when shooting in low light conditions with a long exposure. It helps you achieve sharp, unblurry images and maintain consistency across your photos.
Lighting
Natural light works great for every type of photo, but it is unpredictable and hard to control. That is why studio light is often used in commercial photography. Softboxes or umbrella lights can help soften shadows and evenly distribute light. Reflectors can fill in shadows and highlight important details. Diffusers are perfect for softening light when shooting with strong sources like direct sunlight or bright studio lights.
Background
A perfect background should be simple, neutral, and plain. The goal is to highlight your items’ best features without detracting the viewers’ attention. Seamless paper, cloth backdrops, or even a plain white wall can work well to keep the focus on the main subject.
Editing Software
Post-processing is crucial for product photography. A high-quality e-commerce photo editor is essential for fine-tuning your images, adjusting lighting, and cropping or retouching photos to perfection. Photo editing will significantly enhance the aesthetic appeal of your shots, representing your brand’s identity with consistent, professional-grade visuals.
How to Set Up Product Photography: Step-by-Step Guide
Step 1: Setting Up Your Workspace
Choose a space with ample room where you can control lighting and minimize interruptions. Clean up the area to prevent unwanted elements from appearing in pictures.
Step 2: Configuring Your Camera and Tripod
Put your camera on a tripod to ensure stability and consistent framing. Adjust your camera settings. Regarding the lighting conditions, the ISO should be as low as possible. Prioritize an aperture of f/8 to f/16 for an optimal depth of field. Experiment with white balance to ensure it matches the lighting conditions.
Step 3: Arranging Lighting
If using natural light, set up near a large window where sunlight is diffused but bright. Position your lights at different angles around the product for artificial lighting to avoid harsh shadows.
Step 4: Positioning the Product
Place your product on the backdrop. Ensure your subject is clean and its best features are shown. Use additional props, but remember that they should not detract the audience’s attention from the items. Instead, they should highlight the product and show potential customers that their new purchase easily integrates into real-life scenarios. Try different angles and compositions to find the best viewpoints for your product.
Step 5: Taking the Photos
Shoot from different heights and angles to capture the details effectively. Multiple shots from each angle should provide a variety of options. Check your camera’s display after shooting to ensure images are sharp and well-exposed.
Step 7: Post-Processing
Import your image into your photo editing software. Adjust brightness, contrast, and saturation. Play with color grading and exposure. Crop your photo to leave unwanted elements behind the frame. Apply selective adjustments to fine-tune certain parts of your image without affecting it as a whole. Try out effects and filters to convey the emotion and create the mood. Save the result in the preferred format (PNG, JPG, JPEG, etc.).
Conclusion
Through this guide, we have explored how to craft a product photography setup that captures the essence of your products and enhances your brand’s digital presence. The techniques discussed here aim to empower you, the aspiring photographer or entrepreneur, to produce consistently stunning visuals that resonate with your audience. By implementing these step-by-step instructions and leveraging powerful tools, you are well-equipped to create and deliver high-quality images that satisfy the caprices of modern online shoppers.
Photo by Pixabay; Pexels


